When you connect your iPhone or iPad to your Mac, you can sync a range of media to your device, including albums, songs, playlists, movies, TV shows, podcasts, books, audiobooks, photos and videos, contacts and calendars. This article shows you how it's done.
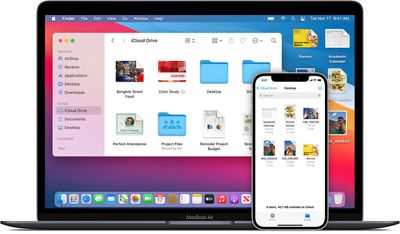
It used to be the case that you could only sync an iPhone and iPad to a Mac using a physical cable, but these days you can sync your devices simply by having them connected over same Wi-Fi network. The only difference is that syncing over Wi-Fi is slower than syncing over a cable.
If you decide to connect your iPhone or iPad to your Mac via cable while it's syncing over Wi-Fi, syncing will continue over the cable. If you disconnect the device's cable from your Mac while syncing, syncing stops, even if Wi-Fi syncing is on. Syncing will only resume when you reconnect the device using a cable or over Wi-Fi.
How to Enable iPhone and iPad Wi-Fi Syncing
- Connect your iOS device to your Mac using the supplied USB cable or a Lightning-to-USB-A cable (sold separately).
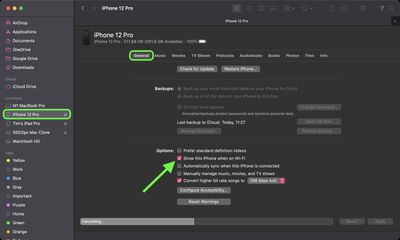
- Launch a Finder window. (Note: to use Finder, macOS 10.15 or later is required. With earlier versions of macOS, use iTunes to turn on Wi-Fi syncing.)
- In the sidebar, select your iPhone or iPad.
- Click the General tab at the top of the window.
- Select the checkbox for Show this [device] when on Wi-Fi.
- Click Apply.

Now, whenever your iPhone or iPad is plugged into power and connected to the same Wi-Fi network as your Mac, it will sync your selected content to your iOS device.


