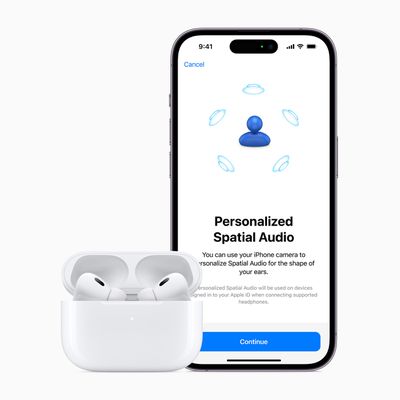
With iOS 16, Apple made available a new feature for AirPods users called Personalized Spatial Audio. This article explains what it is and how to set it up on iPhone.

According to Apple, Personalized Spatial Audio is designed to create an even more precise and immersive listening experience than standard Spatial Audio, which uses Dolby Atmos to create a richer, more immersive soundstage when listening to songs in the Apple Music catalog.
Personalized Spatial Audio does this by using the TrueDepth camera on an iPhone to analyze the shape of your ears in three dimensions and use this mapping to create a personal sound profile that's tuned just for you. Here's what you need to start using it.
What You'll Need
- iPhone with Face ID running iOS 16 or later.
- AirPods 3, AirPods Pro, AirPods Pro 2, or AirPods Max.
How to Set Up Personalized Spatial Audio
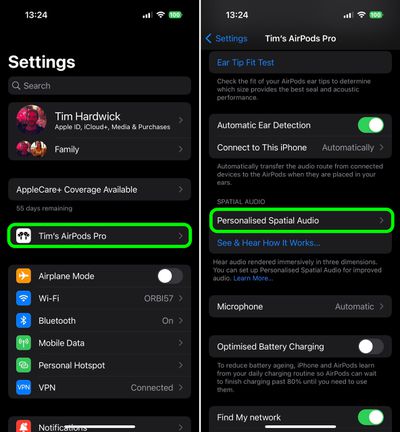
- With AirPods connected, launch the Settings app on your iPhone.
- Tap on the name of your AirPods, just below your Apple ID banner.
- Under "Spatial Audio," tap Personalized Spatial Audio.
- Tap Personalize Spatial Audio....
- Follow the on-screen instructions.

When the setup process is complete, you can tap See & Hear How It Works on the previous screen to get an idea of how it sounds. If you don't like what you hear, you can always disable the feature via Personalized Spatial Audio -> Stop Using Personalized Spatial Audio....
How to Turn Spatial Audio On and Off in Control Center
- Make sure the AirPods 3/Pro/Max are connected to your iPhone.
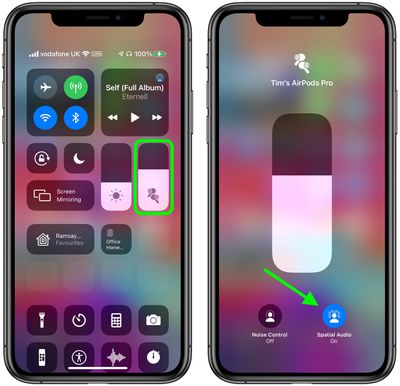
- Launch the Control Center with a diagonal swipe down from the upper right of the screen.
- Touch and hold the volume control bar.
- Tap the Spatial Audio button to turn it on or off.

If spatial audio is enabled and active, the spatial audio button will be blue and animated with audio waves around the listener's head. If spatial audio is enabled but not active for the audio content that you're listening to, the spatial audio button will be blue but static.


