If you use FaceTime on Mac to keep in touch with friends and family when you can't be with them, don't forget that you can use the Screen Recording feature in macOS to preserve those special moments. The following steps show you how it's done.

How to Record a FaceTime Call in macOS
- Launch FaceTime on your Mac and initiate a FaceTime call.

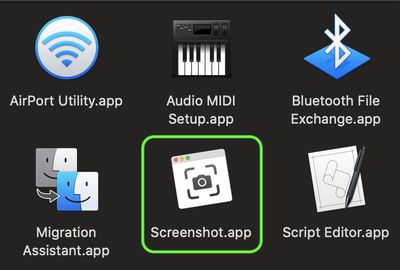
- Let the person on the other end of the call know you're going to be recording some of it, then launch the macOS Screenshot app in the Applications/Utilities folder or by pressing the keys Command + Shift + 5.

- Click Record Entire Screen or Record Selected Portion to select the FaceTime video window.

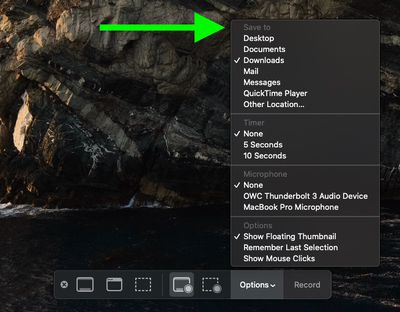
- Click Options on the Screen Capture panel, and choose a Save to location.

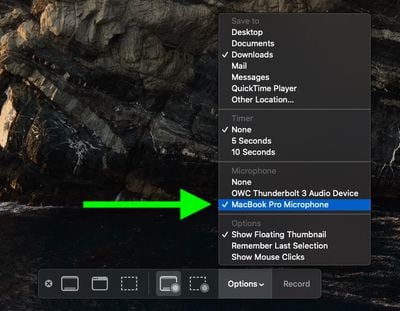
- Select your Mac's built-in microphone under Microphone.

- Click Record to start recording the screen.

When you've finished recording what you want of the call, click the Stop Recording button in the menu bar. The recording will be saved to your chosen location.


