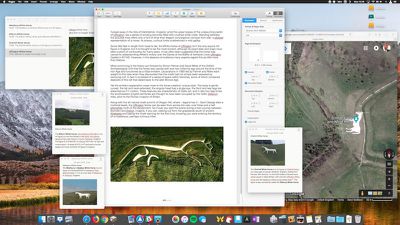
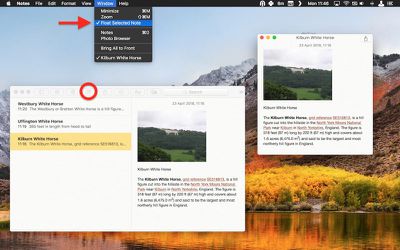
In the Notes app in macOS, it's possible to float individual notes over other windows so that they stay visible regardless of which application is active.

This makes for a convenient way to reference an existing note while writing an essay or report, for example. It also comes in useful if you want to take notes when researching something online. Keep reading to learn how it's done.
How to Float a Note in macOS
- Launch the Notes app, located in your Mac's Applications folder.
- Click the Create a Note button, or click an existing note in the list on the left-hand panel.
- In the Notes menu bar, select Window -> Float Selected Note.

The note will be automatically given its own window, which will remain above other open application windows. To turn off the floating behavior but retain the note's separate window, simply click inside the note's window and again select Window -> Float Selected Note to untick the option in the menu bar.
You can have as many note windows open as you want – just double-click each note in your Notes list and they'll pop up separately on the screen. If you've selected several in the list by holding down the Command key, simply double-click one to open them all at once. You can then position them on the screen and control which ones float using the same menu bar option outlined above.
If you close Apple Notes, the number and position of your open note windows will be remembered the next time you launch the app, as well as which ones you've opted to float on top of other open windows. Just remember that your floating notes can't share the same screen as another app that's in fullscreen mode.


Top Rated Comments
For anyone with the patience, I found this neat guide to getting Afloat working again in macOS (although I can't vouch for it): http://www.perfectlyrandom.org/2016/10/23/always-on-top-in-macos-sierra/
All that said, floating notes is a great little feature -- I rely on Notes more and more these days and find it a very worthy replacement for Evernote (for my purposes anyway).