An Apple ID is a key part of owning an Apple device, and it is used for access to iCloud, the App Store, iTunes, Apple Music, and more. It is also necessary for syncing content across devices, using Find My, making purchases, and more.
Creating an Apple ID is free and easy, and it's the first step to getting an Apple device set up if you're new to the Apple ecosystem. This how to walks through creating an Apple ID on a Mac.
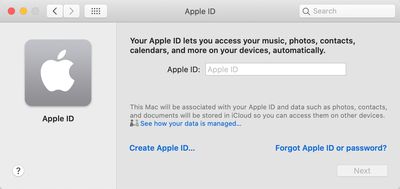
Sign Up Through System Preferences
- Open up System Preferences.
- In the empty profile interface, tap "Sign In."
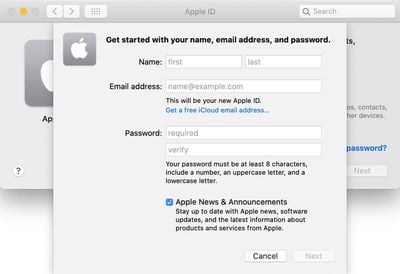
- Click on the "Create Apple ID..." option at the bottom of the window.

- Follow all of the prompts and fill out the required information to create an account.
You will be asked to enter your first name and last name, country, date of birth, a password, and a series of security questions.
Apple ID account sign ups will need to be verified, and Apple will send a verification email. Your Apple ID will be the email that you signed up with, which is worth keeping in mind.
Sign Up Through the Mac App Store
You can also create an Apple ID using the Mac App Store if you prefer.
- Open up the Mac App Store.
- Click on the "Sign In" button at the bottom of the window.
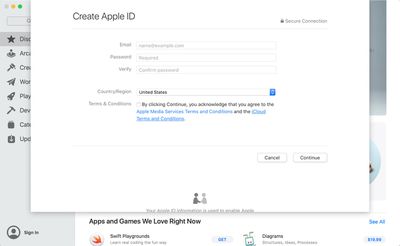
- Choose the "Create Apple ID" option.

- Enter an email address, password, and country, then click to agree to Apple's Terms and Conditions.
Note that you may be asked to provide a credit card and billing information when signing up through the Mac App Store, but choosing "None" allows the request to be bypassed.
Signing Up on the Web
On a Mac, you can also sign up for an Apple ID on the web by following these steps:
- Open a browser.
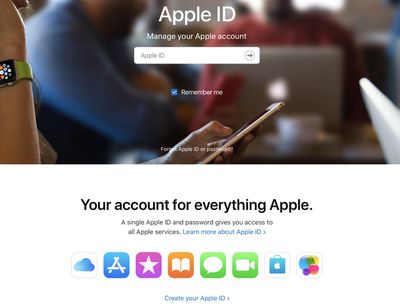
- Visit the Apple ID account page through this link.
- Scroll down to "Create your Apple ID" and click it.

- Go through the steps and fill out the form.
The process for signing up for an Apple ID on the web is identical to the sign up process System Preferences or the App Store, and it will require the same verification.


