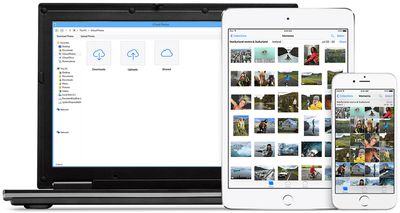
Not everyone who owns an iPhone or iPad has a Mac, which is why Apple made its mobile devices compatible with Windows PCs, too. Using USB, you can you can connect an iPhone or iPad to a Windows PC to set up the device, charge its battery, share its internet connection, transfer files, and sync content. This article shows you how to back up your iOS device on a Windows PC.
Make Sure You Have the Correct USB Cable
As long as your PC has a USB port and is running Windows 7 or later, you can back up your iPhone or iPad to it. However, you'll need to make sure that you have a USB cable that terminates in the correct way to fit your PC's USB port.
If your iPhone or iPad came with a Lightning to USB Cable and your computer has a USB-C port, you'll need to connect the USB end of the cable to a USB-C to USB Adapter (sold separately), or use a USB-C to Lightning Cable (sold separately).
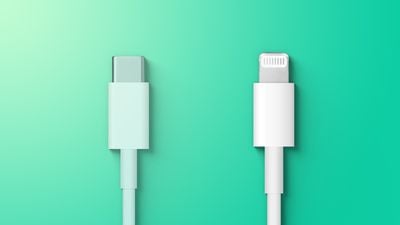
If your iPhone or iPad came with a USB-C to Lightning Cable and your computer has a USB port, you'll need to use a Lightning to USB Cable (sold separately).
If your iPad came with a USB-C Charge Cable and your computer has a USB port, use a USB-C to USB Adapter and a USB-A cable.
How to Back Up iPhone or iPad to a Windows PC
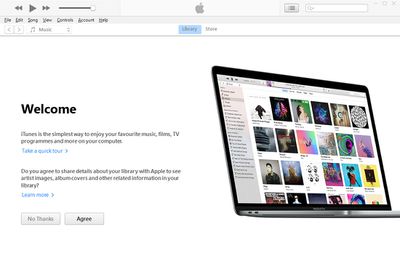
- On your computer, go to the Microsoft Store to download and install the latest version of iTunes for Windows.
- Connect your iPhone or iPad to your computer using a compatible USB charging cable (see above).
- Launch the iTunes app on your PC.

- Click the iPhone button near the top-left of the iTunes window.
- Click Summary in the sidebar.
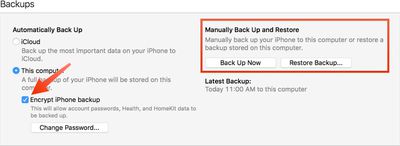
- Below "Backups," click Back Up Now.
- To encrypt your backup, select Encrypt local backup, type a password, then click Set Password.

If you want to see the backups stored on your computer, choose Edit -> Preferences, then click Devices. Encrypted backups have a lock icon in the list of backups.


