If you've just had your Apple Card application approved then you'll probably want to start using it right away. If you regularly do your online shopping from your Mac, then you'll need to get Apple Card set up in macOS.

You can add Apple Card to a Mac with Touch ID if you're signed in to it with the same Apple ID that was signed in to iCloud on the iPhone you used to apply for Apple Card.
The steps below guide you through this process. Beyond that, the main thing to remember is that you can purchase things online with your Apple Card using Apple Pay on your Mac wherever you see the Apple Pay symbol in checkout.
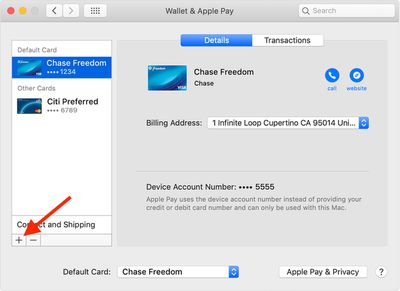
- Launch System Preferences from your Mac's Dock, from the Applications folder, or from the Apple menu bar ( -> System Preferences...).
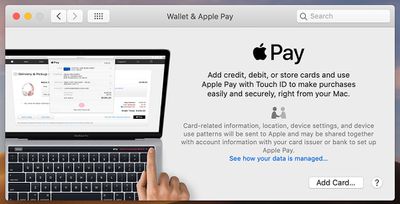
- Click Wallet & Apple Pay.

- Click the plus (+) button.

- Select Apple Card, then click Next and follow the onscreen instructions.
Using Apple Card on a Mac Without Touch ID
If you want to use Apple Card on a Mac model that doesn't have Touch ID, you'll need to keep your iPhone or Apple Watch handy to complete any purchases. You'll also need to allow this verification on your iPhone first: Open the Settings app, tap Wallet & Apple Pay, then turn on Allow Payments on Mac.


