Matt McK took the time to write up this detailed step-by-step guide on how to replace the back casing of the iPhone with a black one. His tutorial follows...
Ever since the iPhone was originally announced I've always wished it was black.
When i picked one up the first weekend they were released I even thought about powdercoating my back to make it black. Luckily, CNN.cn came out with replacement silver and black metal housings to save me the trouble. Well, not entirely, as I'm sure many people have seen already in the earlier thread how the results look, but no where offers a "how-to "do it!
There are a handful of sites that show how to take the iPhone apart, but no one actually shows how to remove all the delicate pieces from the rear housing. I've swapped housings on a number of different phones, but have never run into one as complicated and delicate as the iPhone.
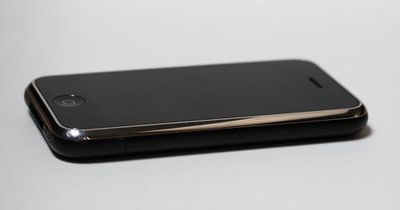
So everyone doesn't ruin their new toy, I'll try to walk you through the process here. I'm going to jump right into the housing assuming that you've already taken it off. If you don't know how to do that, google search and read one of the half dozen sites that show you how (Youtube video). This is the end result:

- new housing
- super tiny philips screwdriver. (The one I found at Ace hardware didn't even have a number on it. All I know is that '0' was not small enough.)
- small flat head screwdriver
- adhesive remover
- super glue/adhesive
- pen/paper
- patience!
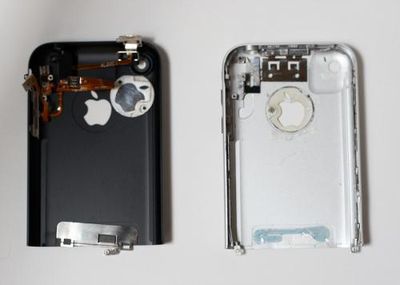
Once you get the back off you'll be looking at this:
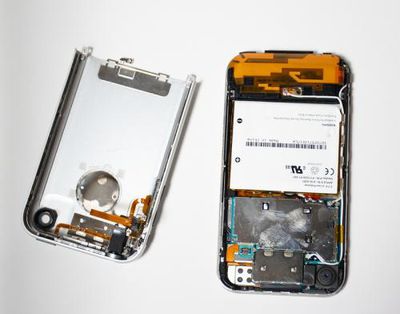
Note the location of screws and where things are glued to. I would suggest labeling all the tiny screws so you know exactly where they go because they are NOT all the same size. I took a lot of pictures throughout the process so i could reference exactly where everything went when i was ready to put it all back together.
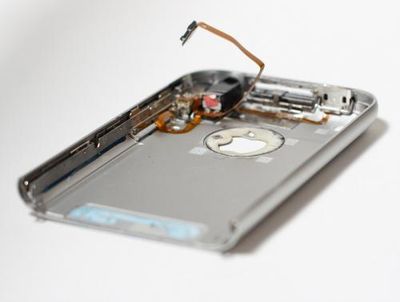
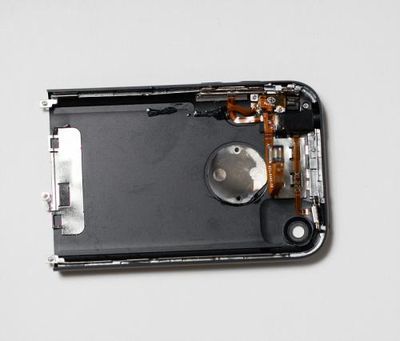
Once you remove all the screws and electronic components you'll be left with the metal skeleton of the original housing. Quite honestly, this is the hardest part about the swap.
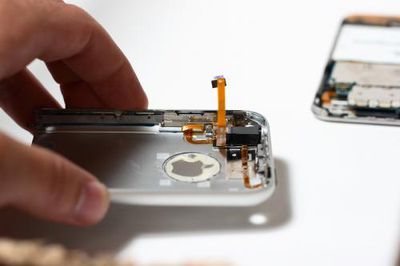
The skeleton is glued on by some crazy hard cement type glue. I couldn't seem to find anything to take it off so i finally went to Home Depot and picked up the strongest adhesive remover i could fine. This one removes concrete and flooring so i thought it'd do the trick!

Next, pour the solvent on the skeleton ensuring you get it in all the cracks. Let it sit for about 20 -30 minutes. After it's done its job and using the smallest flat blade screwdirver you have slowly pry away the skeleton. Be careful as these parts are extremely brittle. I cracked quite a few parts of it before i got this solvent and realized the 'proper' way to do it.
When you're finished you're left with this:
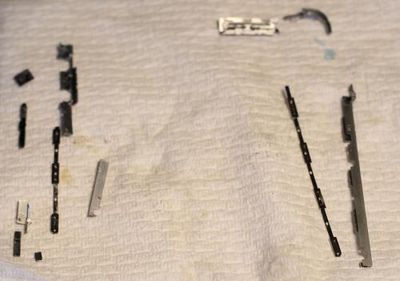
Actually, i think there are a few pieces missing from that pic, but you get the idea.
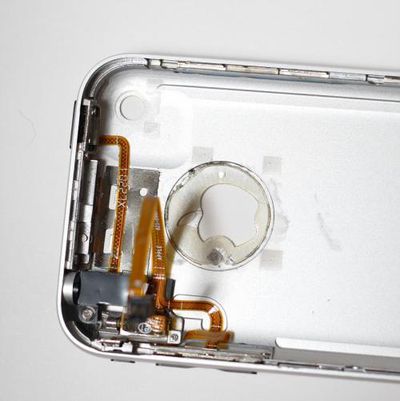
The housing will then be stripped bare with nothing left on it:
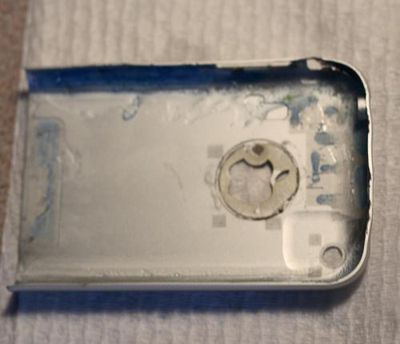
As you can see, before I went the "super strong solvent" route, I tried prying the crap out of the parts which bent a number of points of my original housing. No turning back now!
Once everything is taken apart, cleaned, and dried, it's time to put it back together. I referenced the photos i took earlier to ensure everything was put back in the proper place. i used superglue, but you could really use anything you wanted to hold everything in place. If you've gotten this far, you should realize how to put it back together.
Then it's simply a matter of putting the housing back on the phone and... Voila! An all black iPhone. For the SIM card cover i sprayed SEM trim black paint so it matched the housing.

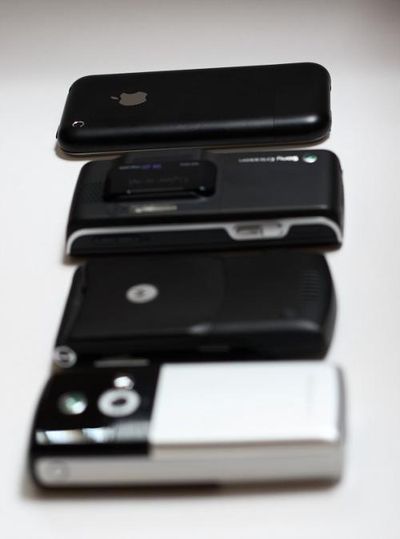
Just a few of the many... out with the old, in with the new.
In Hexproject's thread he mentions it took him 3 hours and people balked at him thinking it should only take 30 minutes. Those people have no idea what they're talking about. I spanned this out over two days before/after work and finals. I'm sure it took me close to 3 hours as well. Plus, I had to run back and forth a few times to get the right parts.
The end result is just what i was looking for! I did, however, mess up one part and that was the silent/ring switch. I must not have noted which position it was on when i took it all apart and now it's stuck on vibrate! Frustrating, but i guess i'll have to deal with it. i really don't feel like taking the phone apart again. Anyone know if there's anyway to turn on the ringer another way than that damn switch?!
Other than that, i hope the post was helpful. Comments are always welcome.